Mastering the Linux Shell
This is one of several articles I will be writing on the subject of the Linux command shell. In Windows-land, you had “CMD” or what some might remember as the DOS prompt. In Linux, we call it a command shell, or simply “a shell“. There are many types of shells, each of which works similarly (e.g. they all allow you to run commands) but each sports many different capabilities. The default on Linux is called bash, or the GNU Bourne Again Shell, so named because it is based on the UNIX Bourne shell.
If you’re ready, it is time to transform you into a master or mistress of the shell. In deciding to join me here, you have identified yourself as one of the bold and curious explorers who really want to know their Linux systems. Sure, it is possible to work day in and day out with your Linux system and rarely use the command line, but the command line is power. Your reward for continuing to this next level will be a deeper understanding of your system and the power to make it do whatever you want.
The things I want to talk about here are basic commands that will serve you well throughout your time with Linux. One of the things I hope to show you is how flexible some of these commands are. With most, you can modify the basic function with command-line switches, flags, or options, and thereby have them yield far more information than a simple execution of the command itself. A little thirst for exploration will open you up to the real potential of everyday commands.
Windows To Commands
When you talk about commands, it invariably means working at the shell level: the command prompt. That’s the dollar sign prompt ($) and it is common to many command shells. When logged in as the root user, you will usually have a different prompt. That symbol (#) goes by many names. In North America, we call it the “pound sign” or the “hash mark.” My English lit friends tell me it’s an “octothorpe.” Others call it the tic-tac-toe board. I’m going to call it the root prompt.
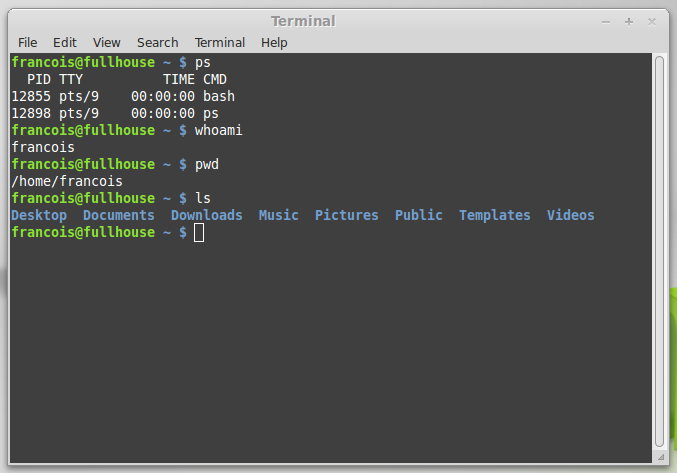
Whatever you choose to call these things, you want to be at a command prompt to begin your experimentation. If you are running from a graphical environment, click the terminal window icon to start a terminal (or shell) session. KDE Plasma users will be starting a Konsole (comand name: konsole). Konsole (see Figure 1) supports tabbed shells so you can run multiple shell sessions from one Konsole window. Just click Session on the menu bar and select New Session. You can then click back and forth from one shell to the other. You can even cut and paste between sessions. This is very handy if you are working on multiple systems.

Figure 1 : Running commands from a bash shell inside Konsole.
To get to a terminal, click the big K in the bottom right hand corner. You’ll see it listed as “Terminal”. If it isn’t obvious, type konsole in the search bar and you’ll find it.
GNOME users, meanwhile, will likely start up a Terminal, whose command name is gnome-terminal (see Figure 2). Like the Plasma konsole, it also features tabs to give you easy access to multiple sessions. To say that there are a great number of terminal emulators might be understating things. You also have the venerable xterm, rxvt, and Eterm, to name just a few.

Figure 2 : The GNOME terminal’s window to the shell.
As you work your way through this series of articles, you’ll learn more and more commands, building up your own personal arsenal of command line magic. Until we meet again, here’s a small list of commands to try out. Spend a few minutes playing with them and finding out what they do.
date   Date and time.
df     Show me how much free space my disks have.
who    Who is logged on to the system?
w      Similar to who but with different information.
cal    Show me a calendar
tty    Identify your workstation.
echo   Hello, ello, llo, lo, o, o, o . . . .
  Try typing echo "Hello world" or echo "Anything at all".
last   Who last logged in and are they still logged in?
I’m going to be covering a lot of ground in this series, so this will all become second nature by the time we’re through. This is where I’m leaving things for today. Until we meet again, here’s a tip. Put a “ -h” after each command (e.g. “date -h“) and you’ll start to ge a feeling for just how much a little command can do.
A votre santé! Bon appétit!
